
Telnet – What it is and what it’s used for?
Telnet is a communication protocol used for remote logging into computer systems over a network. It allows users remote access to a terminal or console on a server, which is useful for managing remote devices or executing commands on a remote computer.
Program for Telnet – PuTTY:
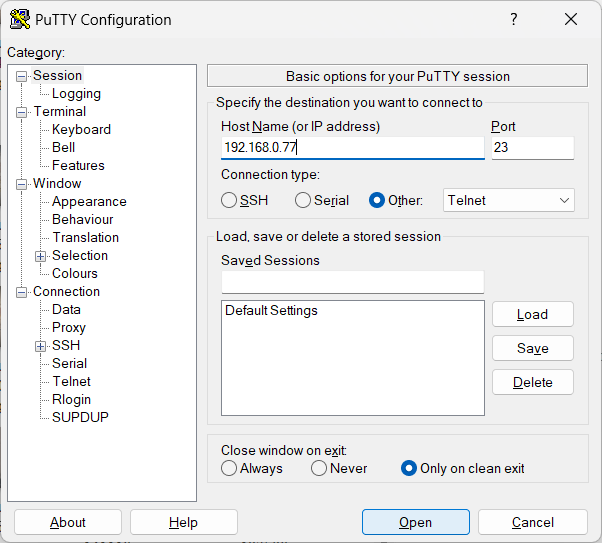
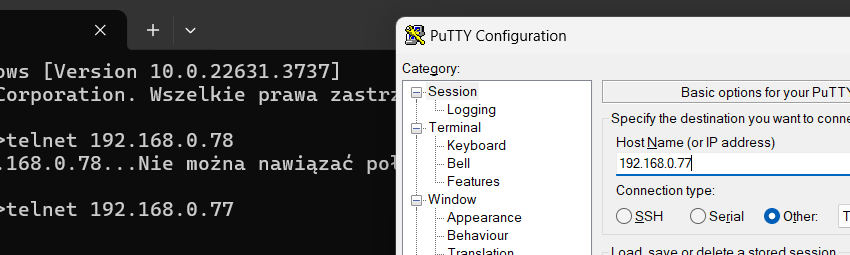
PuTTY is a popular free program for handling protocols like SSH, Telnet, and rlogin. To connect via Telnet using PuTTY, open the PuTTY program, enter the IP address or hostname of the server, select the Telnet protocol, and then click the “Open” button. The connection will be established, and you can enter commands into the remote system.
Telnet in Windows 10:
If you are familiar with the command line or simply do not want to install anything new, you can also use this option. To use Telnet in Windows 10, you first need to enable this feature, as it is not installed by default.
- Enabling Telnet in Windows 10:
- Open “Control Panel”.
- Go to “Programs” or “Programs and Features”.
- Click on “Turn Windows features on or off”.
- Find the “Telnet Client” option and check it.
- Click “OK” to install the Telnet client.
- Launching the console and connecting via Telnet:
- Open “Command Prompt” or “Windows PowerShell”.
- Enter the
telnetcommand, then enter the server’s IP address and press Enter. - If you have successfully connected to the device, a blank screen will appear in the console where you can start entering commands.